How To: Move the Clock Back to the Right Side on Your Galaxy in Android Pie
Android 9.0 Pie moved the status bar clock from the right corner to the left to accommodate phones with notches, but there's one major downside for Samsung users: since no Galaxy phones have a notch, all this did was take away space for the notification icons that would otherwise start from the left corner.Functionality aside, Android's status bar clock has always been on the right, so many people have complained about the iOS-style positioning. Thanks to the latest updates to Samsung's Good Lock plugin and a useful app from developer Zachary Wander, though, there are now two ways to move the clock back to where it belongs, and neither require roots.To be clear, this method will not work on other devices running Android Pie — only Samsung phones running One UI.
Method 1: Good LockThe first method is the easiest and it uses an official app from Samsung called Good Lock. The Pie-compatible version of this app is still rolling out in some regions, so you may have to sideload it. If you're comfortable with ADB, however, Method 2 below uses a different app that has a lot of extra features you might be interested in.
Step 1: Install Good LockTo start, open the Galaxy Store (you'll find this app in your app drawer) and search for "Good Lock," then tap the top result and hit "Install." Alternatively, you can just tap the link below from your phone.Galaxy Store Link: Good Lock (free) If you're not finding Good Lock, it's likely not available in your region yet. You can sideload the app using the link belowAPK Link: Good Lock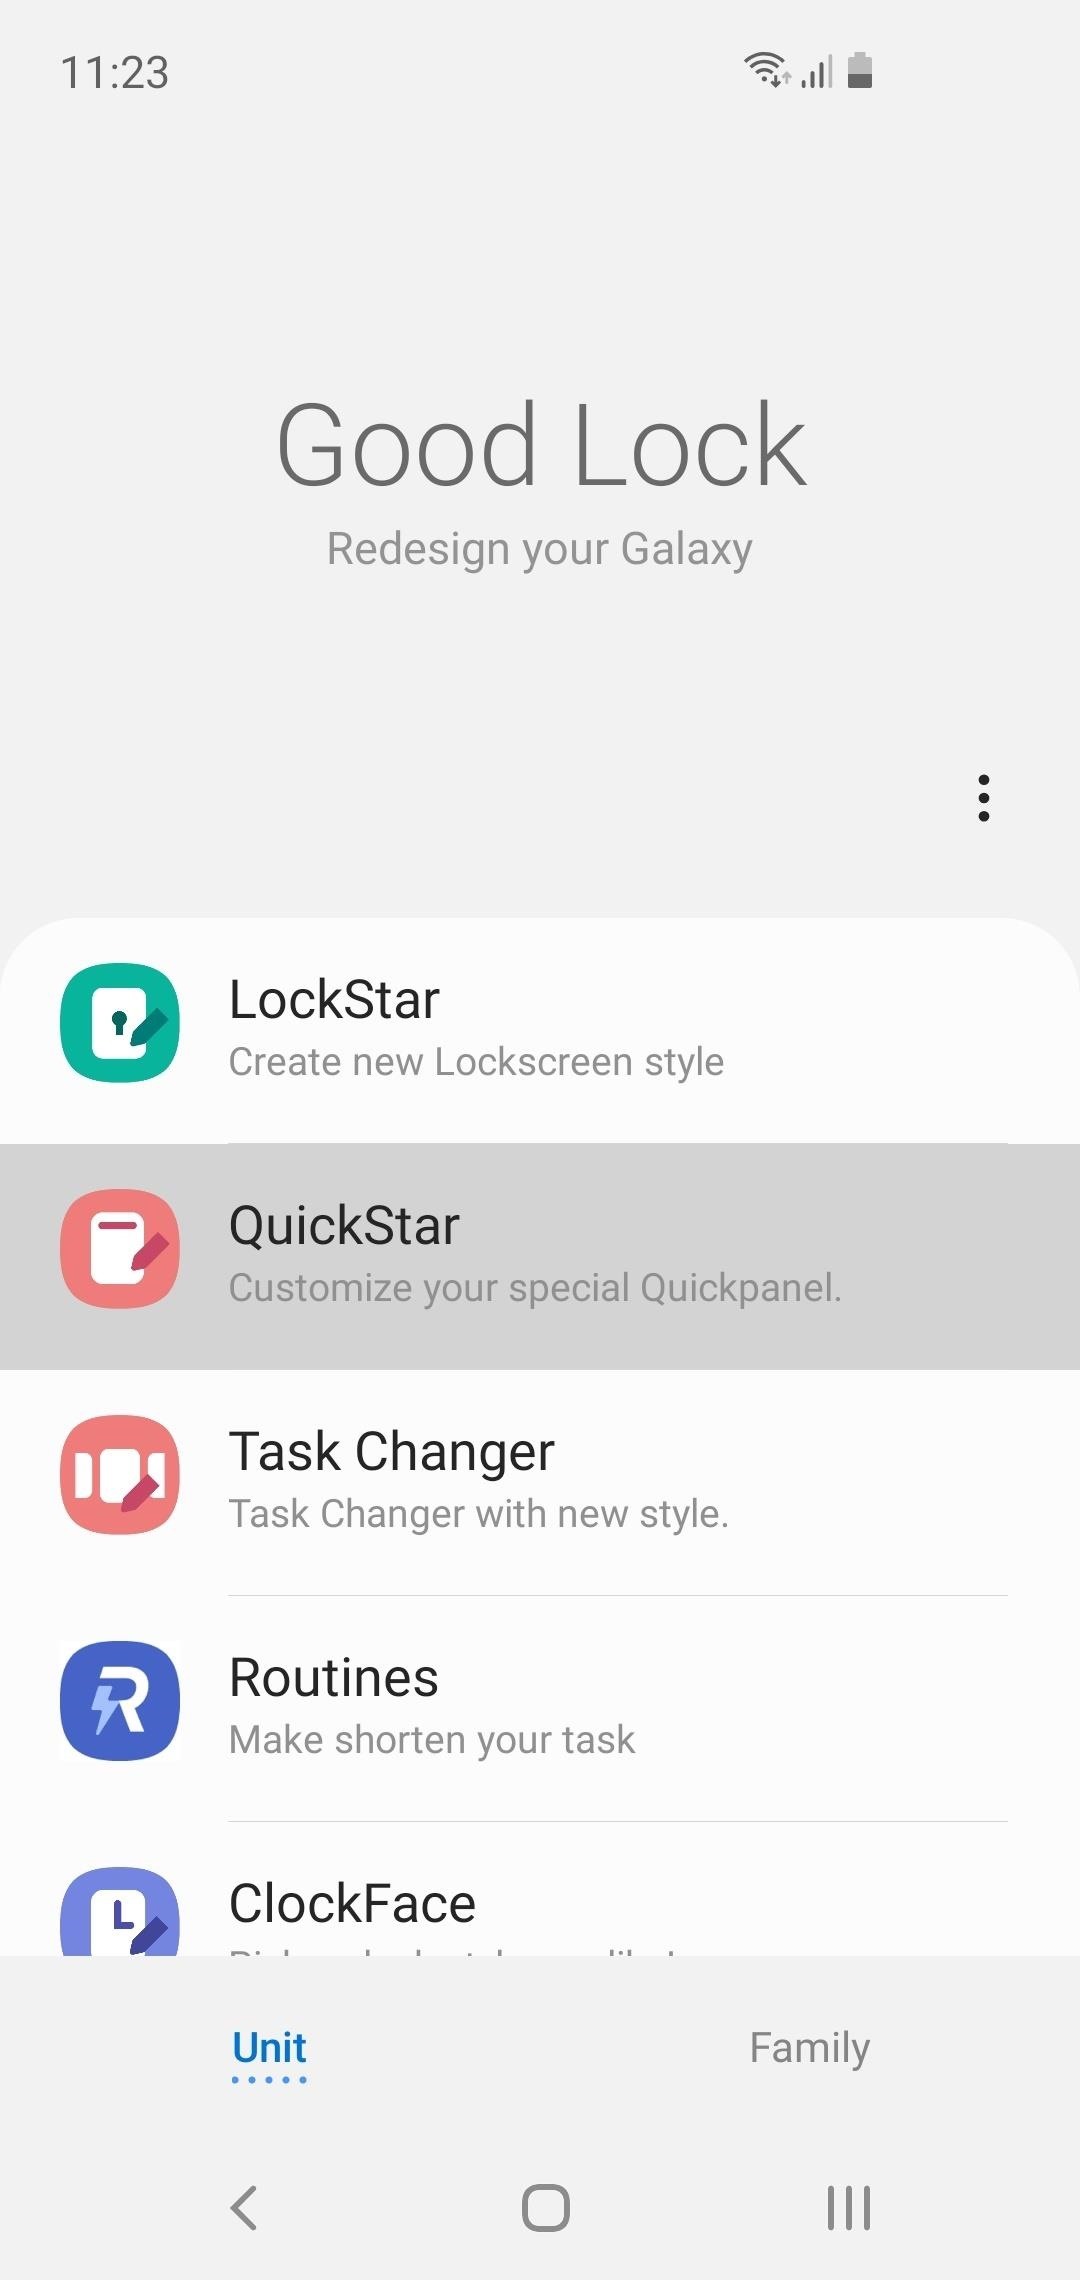
Step 2: Install QuickStarNow, open Good Lock from your app drawer. Towards the middle of the screen, tap "QuickStar," then press "Install" on the following page. Once installed, head back to Good Lock and tap "QuickStar" again. If nothing happens and you get redirected to the QuickStar installation page again, you'll have to sideload the new version from the link below:APK Link: QuickStar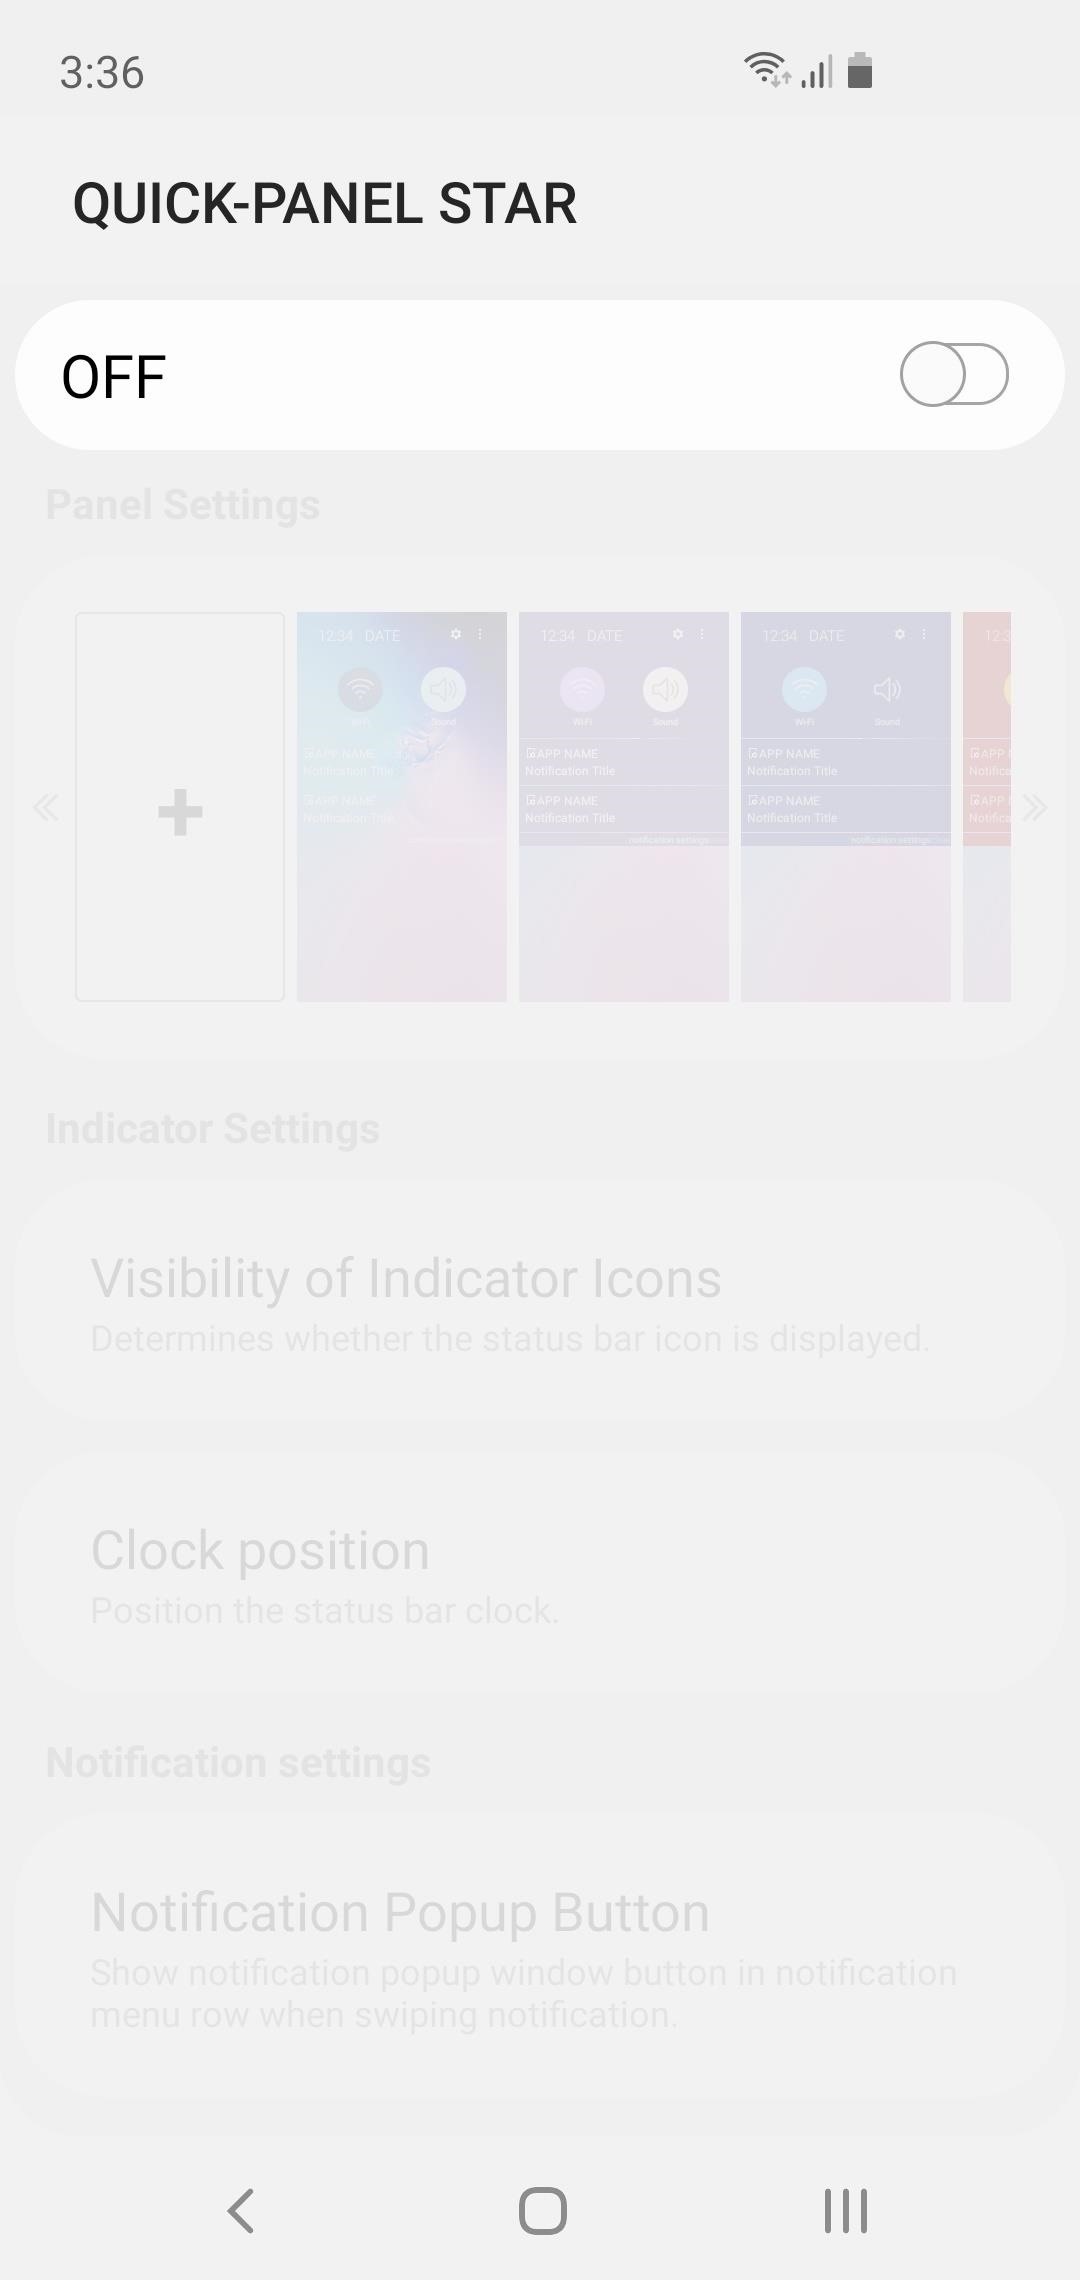
Step 3: Move the Clock Back to the RightWith everything installed, open the QuickStar menu by selecting it from Good Lock's main page. Next, tap the toggle at the top of the screen to enable the plugin, then select "Clock position" and choose "Right." Your clock will instantly move back to the right side of the screen!
Method 2: SystemUI Tuner (Requires ADB)This second method gives you access to several extra features from an app called SystemUI Tuner. Among these are the ability to disable any status bar icon, change notification snooze times, and many others. But to use this method, you'll need the following:USB data cable Windows, Mac, or Linux computer
Step 1: Install SystemUI TunerThe ability to move the status bar clock is a new feature in an awesome app called SystemUI Tuner. To get the latest version, start by heading to the app's Play Store page at the link below and installing it.Play Store Link: SystemUI Tuner (free)
Step 2: Download ADB on Your ComputerFor the app to be able to alter your status bar clock, it will need elevated privileges. The only way to accomplish this without root is by sending an ADB command from your Mac or PC.So next, download ADB for your operating system using one of the links below. Once you have the ZIP file, extract it to a location you can access easily.Download ADB for: Windows | Mac | Linux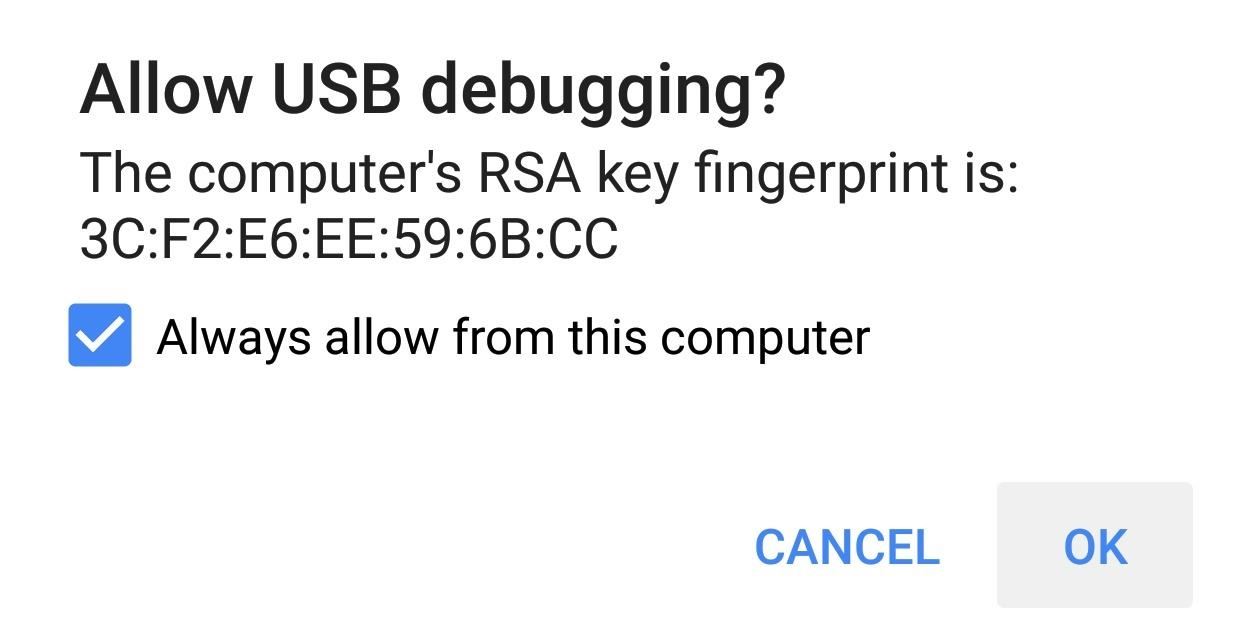
Step 3: Enable USB Debugging on Your PhoneFor ADB to work, you'll have to enable a setting on your phone. But this setting is in a hidden menu, so first, activate Developer Options by going to Settings > About Phone, then tapping the "Build Number" entry 7 times in rapid succession. You'll see a toast message saying "You are now a developer" once successful.Next, back out to the main Settings menu on your phone. At the bottom, you'll now see the newly-unlocked "Developer Options" menu. Select this, then scroll down and enable the "USB Debugging" option. Afterwards, connect your phone to your computer with a USB data cable, then you'll see a prompt asking if you'd like to "Allow USB Debugging." Tick the box next to "Always Allow," then press "OK" on the popup. For more help with this aspect, refer to our full ADB installation guide.
Step 4: Open a Command Prompt in the Right DirectoryFrom here, connect your phone to your computer with a USB cable if you haven't already done so. Next, you'll need to open the "platform-tools" folder inside of the ADB folder you just extracted in Step 2. If you already had ADB installed and aren't sure of its location, search your computer's hard drive for "platform-tools."Once you've found the platform-tools folder, you'll need to copy its full location path. On Windows (and most Linux builds), this can be done by clicking the address bar at the top of the explorer window, then copying the location from there (right-click > "Select All" > "Copy"). For Mac users, open the platform-tools folder in Finder, press cmd+opt+p to display the path location of the folder, then right-click the "platform-tools" badge at the bottom of the window and choose "Copy as Pathname." Now, open the command prompt. To do that on Windows, press the Windows key on your keyboard, type "cmd," then hit enter. On Linux or Mac, simply open "Terminal" from your Applications folder.With the command prompt open, type in "cd" (without the quotes), followed by a space, then hit ctrl+v (or cmd+v) to paste in the platform-tools folder location you copied earlier. In the end, the command should look similar to the one below, so if it does, go ahead and hit enter on your keyboard so that the command window will be operating in the right directory.
Step 5: Grant Elevated Privileges to SystemUI TunerWith the command prompt now operating in the right directory, copy the following command in its entirety, paste it into the prompt, then press enter. adb shell pm grant com.zacharee1.systemuituner android.permission.WRITE_SECURE_SETTINGS If you receive an error and you're using Mac, Linux, or Windows PowerShell, use this command instead: ./adb shell pm grant com.zacharee1.systemuituner android.permission.WRITE_SECURE_SETTINGS If neither of these commands work, there's either a problem with your ADB installation or you haven't enabled USB Debugging in Developer Options. Refer to our full ADB installation guide for help.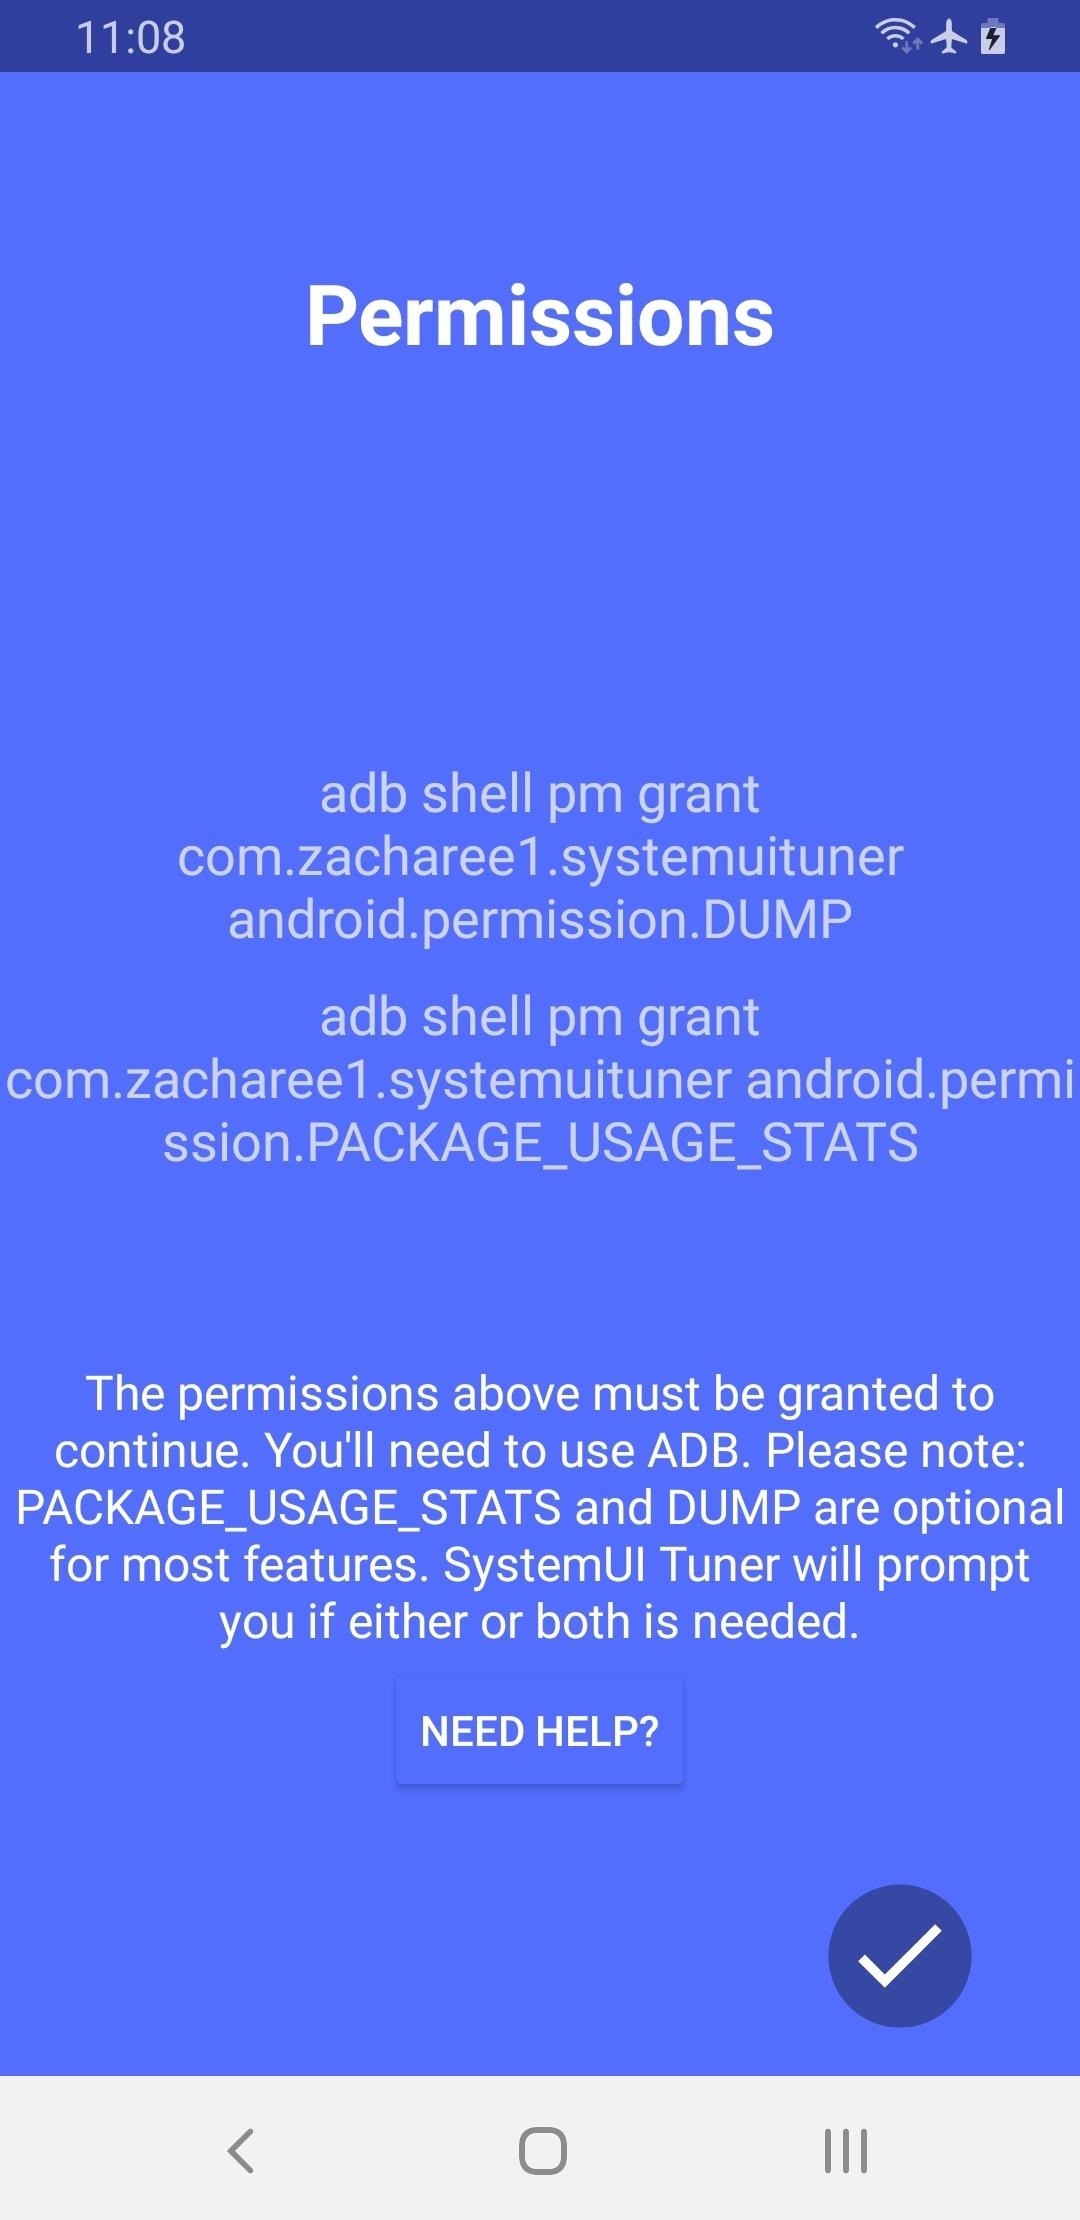
Step 6: Move the Clock Back to the RightNow, open the SystemUI Tuner app on your phone, agree to the terms of service, then tap the check mark in the bottom-right a few times to flip through the initial setup tour.On the last page, you'll be asked to grant some additional permissions over ADB — however, you've already granted the only permission the app needs to move the status bar clock to the right, so tap the check mark again anyway, then hit "Yes" on the popup to move on. At this point, you'll likely have to reopen the app from your app drawer. Once you do, tap "To the tweaks" on the main screen, then select "TouchWiz" on the next page and choose "Miscellaneous" on the one after that. Now, select "Status Bar Clock," then choose "Right" as the position and your clock will instantly move back to the top-right corner! Don't Miss: More Tips & Tricks for Your Galaxy on One UIFollow Gadget Hacks on Pinterest, Reddit, Twitter, YouTube, and Flipboard Sign up for Gadget Hacks' daily newsletter or weekly Android and iOS updates Follow WonderHowTo on Facebook, Twitter, Pinterest, and Flipboard
Cover image and screenshots by Dallas Thomas/Gadget Hacks
We will show you how to download watchOS 6 beta 1 for compatible Apple Watch models right now. You must be a registered developer for this. watchOS 6 is finally here and it is packed with a ton of
How to Install watchOS 5.3 Beta 1 on Apple Watch without
How to Enable Dark Mode on iPhone via Control Center. To use Dark Mode on your iPhone in iOS 13, open up the Control Center. Next, long-press the display brightness control, and you'll see a new "Appearance Light" button. Tap that to enable Dark Mode, which will turn the button into "Appearance Dark."
Enable Grayscale Mode on Your iPhone, iPad, or iPod - YouTube
Snapchat is a popular social networking and messaging app for both iOS and Android, and you can add various effects to your photos and videos using the app. To get effects on Snapchat, you might consider using lenses (i.e. face effects), applying filters, trying the face-swapping feature, adding typed text, decorating with stickers or emoji, or
Radio, 10 meter radio and amplifier hook up information.htm
Information for Proper Operation of High Powered 10 Meter Amateur Radios (From Galaxy) The high powered 10-Meter Amateur Radios are capable of transmitting 100-200 watts plus to the antenna system. This requires a more robust antenna and electrical system than what might be used for the more common low powered or CB radio systems.
Tilføj et batterimåler og systemstatistik til
The only thing you need in order to remove the SIM card in your iPhone or iPad is an Apple SIM card remover tool (included in the box in some countries, especially when you buy an unlocked device) or a small, bent paper clip. If you're using a paper clip, straighten the long end until it projects out (see the photo above).
3 Ways to Switch SIM Cards - wikiHow
But when scaled up to the size of a jacket, it can produce closer to 2W of energy, which is enough for using a mobile phone. While forms of this tech have been around for quite some time, this application may be on the market sooner than you think. According to Professor Byeong-jin, the technology "will be commercialized within the next two
Smart Meters are worse than you think (UPDATED) - YouTube
Fli
How to change date format in Android Phone - YouTube
If your HP tx1000 tablet PC is stuck on a black screen, you are not alone. The HP tx1000 tablet has a defective NVIDIA chip which sometimes causes the laptop to get stuck at a black screen and not boot over time. This often happens (conveniently) after your 1 year warranty ends.
HP tx1000 no boot / black screen / motherboard repair - YouTube
Facebook Messenger promised an update that featured a dark mode earlier in the year, and now it seems the promised dark mode is here, but there's a catch. Facebook has decided to "hide" the feature behind a little trick that involves a moon, but anyone can access the feature if they know how. Here's how to enable dark mode on Facebook Messenger!
How to Enable the Dark Mode Theme in Windows 10
After a year of serious deliberation, Jason finally decided to wear one of many of his goofy as hell hats from his entirely real collection, and as such, it had to be sacrificed. ----- Make
Eavesdrop from a Distance with This DIY Parabolic "Spy
Google Photos 101: How to Use Google Lens to Identify
After six months with Google's Project Fi, I'd switch to it if I could about your data use, Google will actually refund you the money for any unused data. that while I did save money on Fi
Prepare to transfer your number to Google Fi - Google Fi Help
0 comments:
Post a Comment